
Yield: 10 scones
Recipe: 41/200
“Back to Baking”, pp. 225
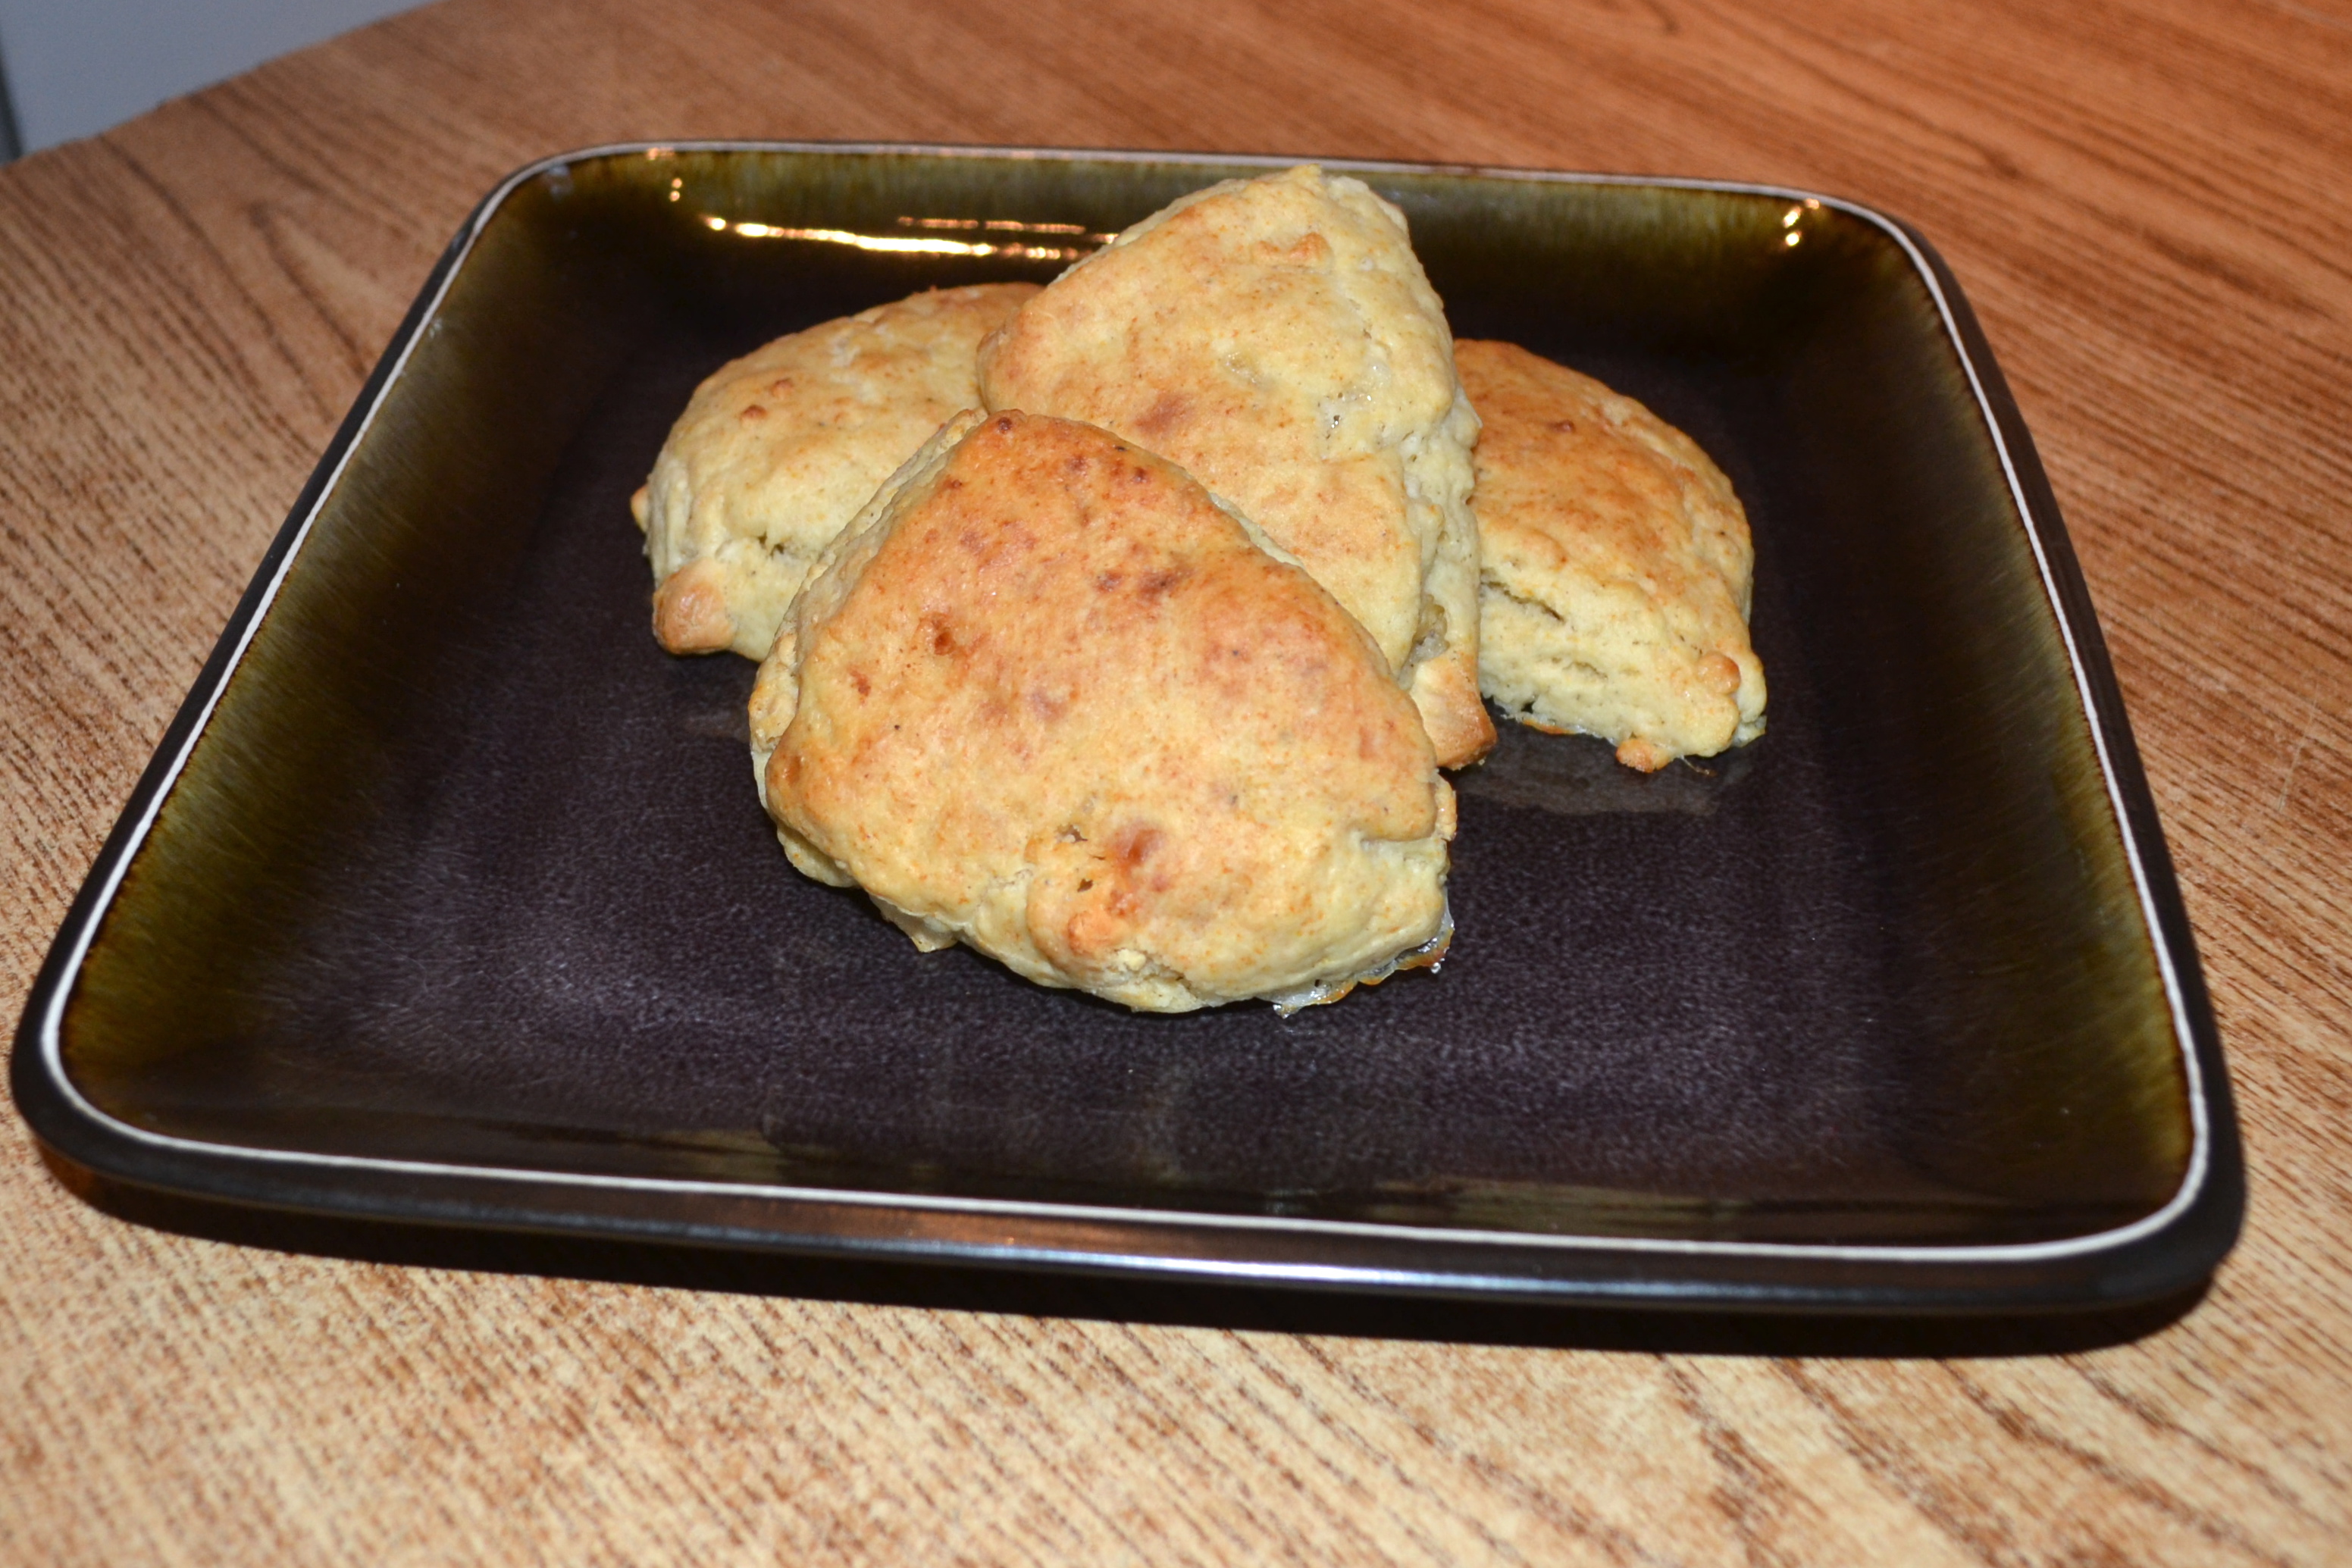
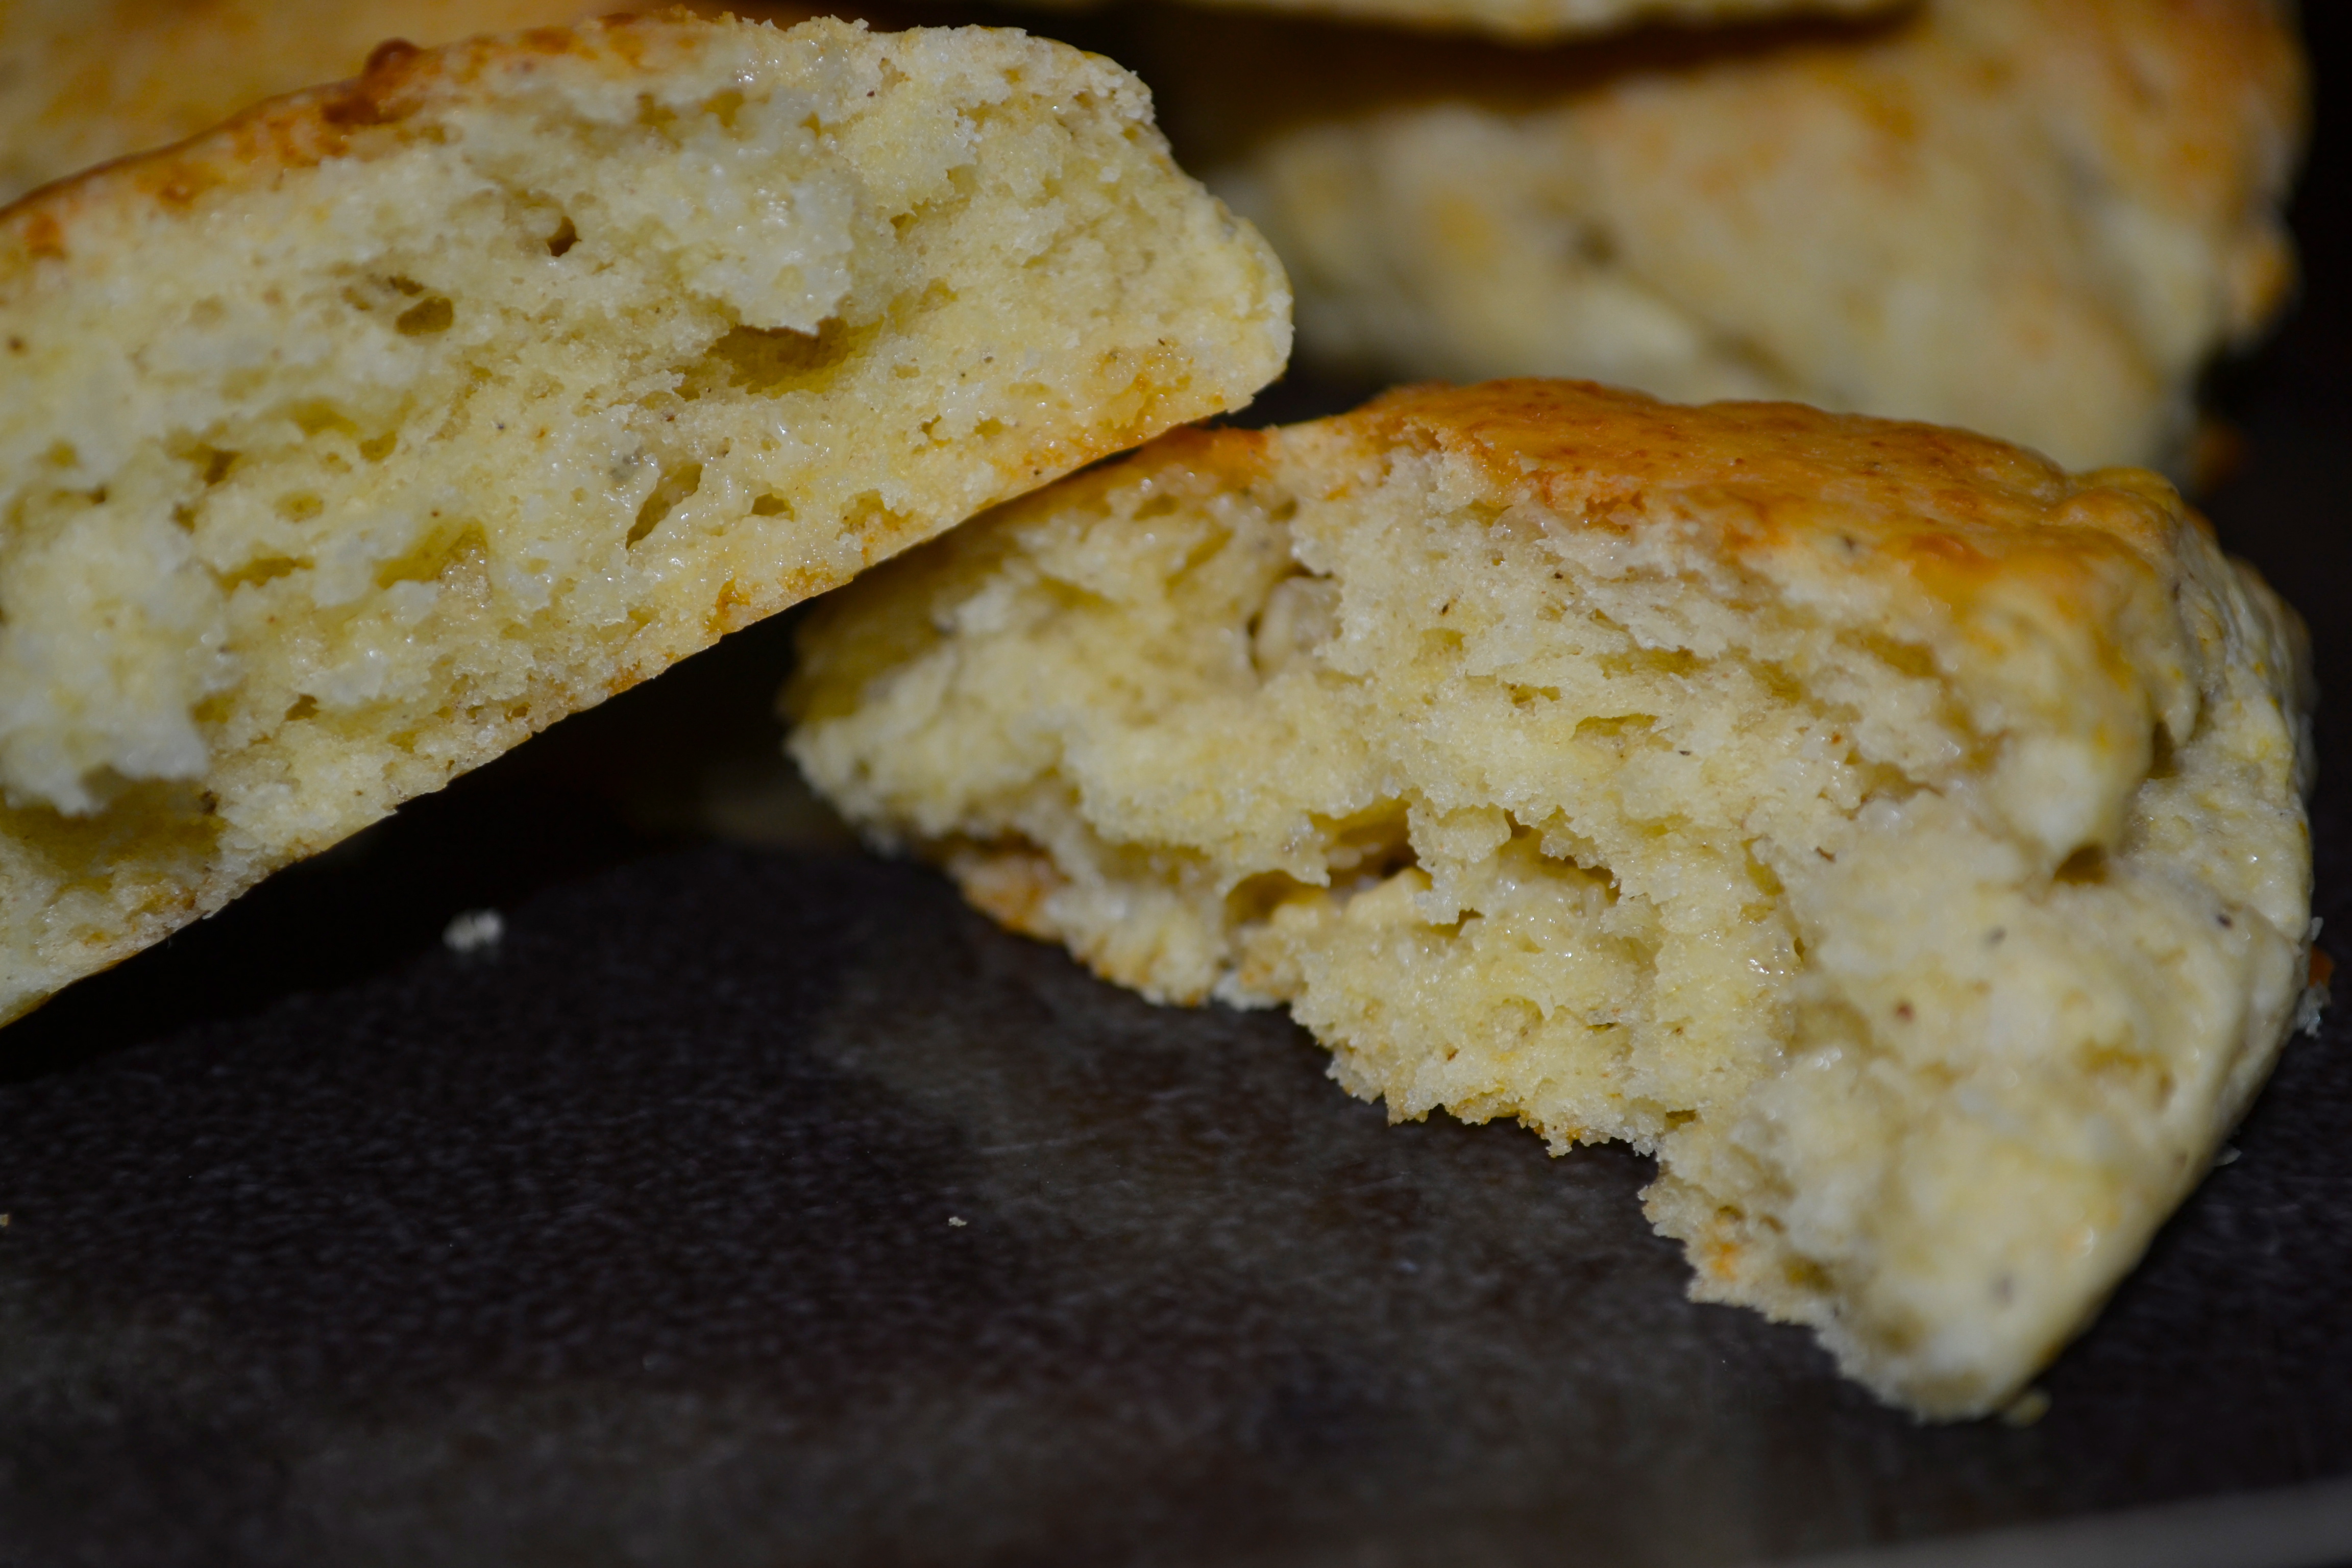
Confession time: I have never had a scone! Until recently, I never actually realized that such a thing existed. Since I have come to realize what a scone looks like, however, I have not been enticed to try one. I always wondered: what are they supposed to be? A cake? A cookie? Some type of bread snack? To my inexperienced eyes, scones looked dry and crumbly. How wrong I was!! Today I made the white chocolate and black pepper scones and…. my oh my. I love it! A crispy outer layer, a flavour-packed moist butter interior, what’s not to love? I feel like I deprived myself of a succulent dessert (or is it more of a snack?) for years. Oh well, there’s plenty of time to make up for it, and plenty of time to make more scones! The unexpected addition of the pepper in this recipe provided a pow that is welcomed and the white chocolate offers the flavour burst that makes these scones oh so delicious. Definitely, definitely try these. Go do them now, actually.
Ingredients:
- 1 2/3 cups all-purpose flour
- 1 tablespoon sugar
- 2 1/2 teaspoons baking powder
- 1/2 teaspoon salt
- 1/2 teaspoon finely ground black pepper
- 6 tablespoons (90 mL) unsalted butter, cut in pieces and chilled
- 4 oz. (125 g) white chocolate, chopped, or 1 cup white chocolate chips
- 1 egg
- 6 tablespoons cold milk, plus extra for brushing
- 1 teaspoon vanilla extract
Directions:
- Preheat the oven to 400°F and line a baking sheet with parchment paper.
- Stir together the flour, sugar, baking powder, salt and pepper until well combined.
- Cut in the butter using two knives or, even better, your fingertips until the mixture is a rough crumbly texture but pieces of butter are still visible.
- Stir in the white chocolate to coat with the flour.
- In a separate bowl, whisk together the egg, milk and vanilla extract.
- Add the milk mixture to the flour mixture and stir just until the dough begins to come together.
- Turn the dough out onto a lightly floured work surface. Using your hands, flatten and fold the dough 2-3 times until the dough is an even texture. At first, the dough will be somewhat wet and sticky. This is normal. Roll out the dough to just under 1 inch thick and cut scones either with a knife to obtain square scones (which you can reshape into triangular scones if you wish) or with a 2 1/2 inch round cutter. Re-roll the dough as necessary to obtain 10 scones.
- Places the scones 1 inch apart on the prepared baking sheet and brush the tops of the scones with milk. Bake for about 15 minutes, until they have browned evenly.
Notes from Anna:
- These scones are best served the day they are baked, but they can be enjoyed the next day by reheating them at 300°F for 5 minutes.
Valerie

oh wow – love the idea of white chocolate and black pepper combined!
Indeed, it is an unexpected but great combination! Who would’ve thought? (Well Anna, obviously).
Just catching up on your blog after being flooded out of our home for almost a month in High River (AB). It feels good to be back in my own kitchen again and these scones look like a great place to start. They sound so “uptown”! 😉
Hi Sharon,
I’m very sorry to hear that. I hope you are your family are okay, considering. I’m sure these scones will warm your body and souls a little bit! 🙂